Showing posts with label inspiration. Show all posts

Friday, February 25, 2011

No, I'm not dead

It's been a while since I've posted anything and that could be blamed on work, getting sick....again, and my wonderful fiancĂ©e coming up for a surprise visit! 
So I'm getting back on track (cross my fingers) with blogging and crafting and wedding planning!

Actually...I need to get to work soon; but I wanted to chit chat a bit about the wedding first.


So I'm pretty sure I've decided on a dress (sorry, you won't see that until the big day), and I'm totally going to wear yellow shoes underneath! Our colors are green, yellow, and dark gray so my feet won't stick out like a sore thumb. 


I got inspired by this picture and thought it would be cute for centerpieces; but after a little more brainstorming, Mike and I decided to use traditional clay pots with yellow flowers and green moss. I'll tie a bow of some sort around the pot and three picture frames will surround the centerpiece. The tables will be round and a white table cloth will be placed on each table with half the tables with a  yellow runner and half with a green one.


That's all that I can write at the moment; work is calling my name!

Wednesday, February 2, 2011

Self Improvement Plan: Written in 2011

If you remember my goals for this year post, I said I wanted to be healthier and lose a little weight before my wedding (yay). I haven't been toooo bad since that goal was made. I haven't been working out EVERY morning but I have been eating better. 
Anyway, as I was browsing around the internet looking at things from the past (1950s) I found a youtube video with a 10 point plan to follow for one week involving self improvement. Yes, diet and exercise are on the list but there is so much more. Things that we all should be working on every day...but a journey begins with a single step so will you take this weeks challenge with me? I know it's Wednesday but let's take these 10 points and work on them until next Wednesday. Let's see what we can do!

Take it away Jack!


And for your happiness... I've made the 10 point plan ready for you to print out and stick to your mirror!


Just right click and "save image".

Monday, January 17, 2011

Snowflakes minus the mess and cold

Do you remember sitting on the floor with a pair of scissors in your hand making paper snowflakes? I always loved trying to make pictures inside my snowflake; and I loved how each one was special and unique.
Well I found an online snowflake maker!
You can make any kind of snowflake that you want using diffrent folding techniques, sciccors, stamp cutters, markers, and more!
After you're finished with your little creation, go ahead and print it out. Isn't that awesome?
Here are some of my snowflakes...


Click here to make your own pretty snowflakes.


Wednesday, December 22, 2010

Wrapping Presents!

It's almost Christmas! Are all of your gifts wrapped and under the tree? No!?
Thats OK cause I've rounded up a bunch of tutorials, videos, and ideas on how to make your gift just as special on the outside as it is on the inside. 


First Up is the paper....


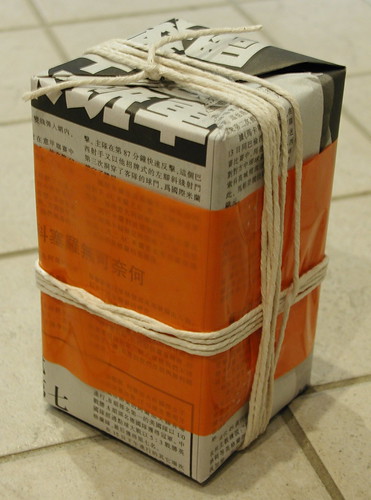
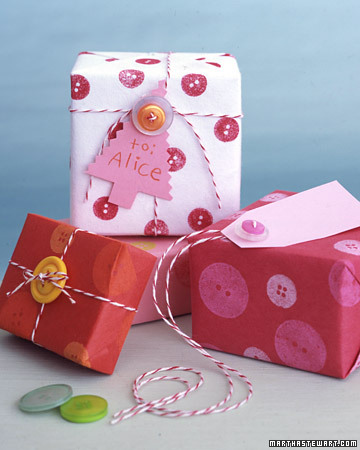
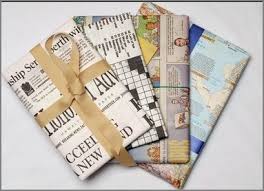
You don't need to use traditional wrapping paper if you don't want to. Here are a few ways to get creative!


I also found a video series with step by step instructions on gift wrapping with newspaper. Go ahead and click on the tapes to watch.


Now...What about the bows? Or maybe you just wanna go with a creative topper for your gift... 


I also found a few videos on how to make a bow to top off your gift. Check them out!


(this is mine!)

Don't forget that you don't neeeeed to tie up your gift with ribbon! You can also use yarn, twine, thread, or whatever else you feel like!


One year, I wrapped all my gifts like this...


I once collected stamps (not that what I have is ever going to be worth anything) so I wrapped all my gifts in brown paper. Then I made up fake addresses with the recipients name on it. After gluing on the old stamps I used a pen and markers to make the stamps and symbols that the post office makes when you mail a letter or package. I also wrapped some of the boxes with twine and yarn. 
Needless to say...they looked awesome!

Hopefully this post has inspired and helped you out a little bit. If you need a little more I made another video about the gifts that I've wrapped so far. You can see that here. (and if you really need help on the basics of gift wrapping check out this video here

I'll leave you with this cute picture I found while browsing the internet for gift wrapping ideas....

(Mike this is for you)


Sunday, December 5, 2010

Christmas Decorations- Part 13?

Pretty sure this is my 13th post in the series, then again I could have lost count...
(check out my November posts for more Christmas decorations tutorials)

"The decorating of various structures and trees has been recorded in Europe from the 17th century on, but the first written account of a "Christmas tree" did not appear until 1605. According to John Matthew's The Winter Solstice, an anonymous German citizen that year recorded trees being decorated with "roses cut out of many colored paper, apples, wafers, gold-foil, [and] sweets". What about chaser lights and oodles of wrapped gifts? It was more than 100 years later when Professor Karl Gottfried Kissling of the University of Wittenburg wrote of people adding candles for decorations and placing children's wrapped branches around the bottom of the small indoor trees.
Of course, the early trees were decorated differently than today's evergreens. Early ornaments were usually hand-crafted or edible. Nuts, candies, fruits, and pieces of colored paper were the most common. The average modern tree is decorated with a combination of store-bought ornaments and family memorabilia with several strings of lights strewn over the branches instead of candles, but no matter how the tree is decorated it still symbolizes a timeless Christmas tradition of families gathered together exchanging presents and love."

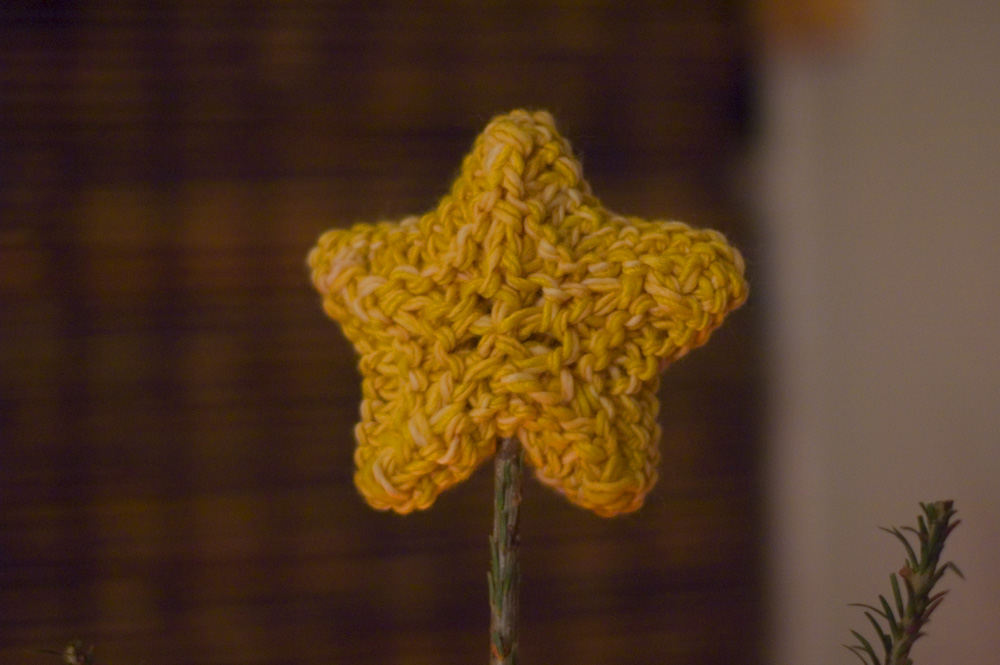
Since I've already done a post on Christmas tree ornaments (here), let's get inspired for the Christmas tree topper! 
I'm not feeling well today (mono) so I can't spend too much time out of bed; this is why I'm just posting pictures to inspire you and not taking the time to get all the links and tutorials down.  Sorry guys!


I must say that this yellow crocheted star is my favorite of all these toppers (I do really like the clock and owl done too). But this one takes the cake!


Hope you found something that you liked!
(and if you don't have your Christmas tree up by now then shame on you!)

Wednesday, November 10, 2010

Christmas Decorations- Part 6

"Early on gifts were wrapped in simple tissue paper or more sturdy brown paper. In the nineteenth century, gifts were sometimes presented in decorated cornucopias or paper baskets. The technology did not exist to mass produce a decorated, foldable, paper until the 1890's, when developments in printing presses allowed colored ink to be printed fluidly on stiffer papers. A rotary system developed that allowed the printed paper to be rolled onto cardboard rolls or cut into smaller sheets."


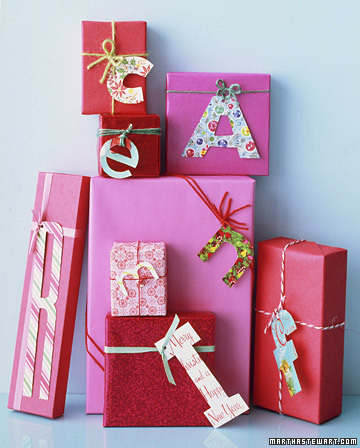
Have you ever gotten a package in the mail that was just too pretty to open? Or find a gift under the Christmas tree that was so beautifully wrapped that you knew the inside must be wonderful
This post is dedicated just to that, bringing a smile, and sparking the imagination of the receiver even before they remove the wrapping paper. 


Sorry this post was shorter than most of my other Christmas Decoration posts, but if you've been keeping up with the blog you know that I've been really sick with Mono. 
I hope you guys are doing better than I am!


Sunday, July 18, 2010

Easy Flower Garland!


So easy, no written instructions needed!
Click on the image to make the picture bigger if you're a four eyes like me...


Thursday, May 13, 2010

New Layout Celebration

Hooray Finals are over!
What a huge weight off of my back. Of course I still have white glove and a other meetings to go to but tonight, since I'm not cramming for a test, I've decided to makeover the blog. 

So while trying to decide the knew color scheme I realized that I've taken a new interest in vintage yellow and green. 

This shirt is gorgeous, both in color and style.


I looooove this pillow, but also feel in love with the green behind it.


This is one of the banners I made for my etsy shop; I still haven't made up my mind on which banner I want, any comments are helpful. 


I think that these vintage fabric patterns are adorable.

So, here's the new layout and color scheme. I now have a three column blog to fill over the next couple of weeks. If you would like your blog advertised on this blog for free, just leave a comment with your e-mail address and blog address. You just might make it!

Thank you to everyone keeping up with me even though the posts have been slim over finals week; you are all very much appreciated. Can't wait to see how my posts pick up over the summer.

What would you like to see on this blog? Leave a comment or suggestion bellow. Miss Yellow Shoes can't get any better or grow unless feedback is given.

:-)