Showing posts with label do it yourself. Show all posts

Friday, February 11, 2011

DIY Valentine Crafts Roundup

Yay it's Friday!
Now you've got a whole weekend in front of you that you can fill with oodles and oodles of Valentine crafts.

Let's start with food shall we? (guys like food anyway)


These cute little cake pops are simple to make and great for just about everyone.


How about a 5 minute cake in a mug for that special somebody? Or...make a bunch of these before watching a chick flick with all the girls!
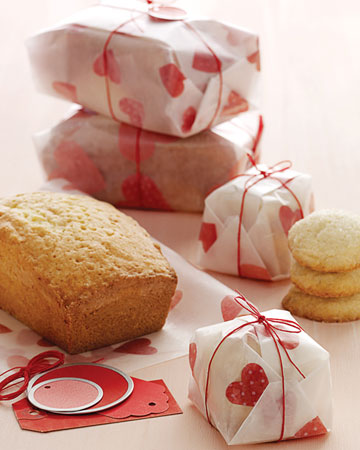

You don't just have to give away chocolate on Monday. Why not bake some bread of muffins? Don't forget to wrap them up in pretty paper!
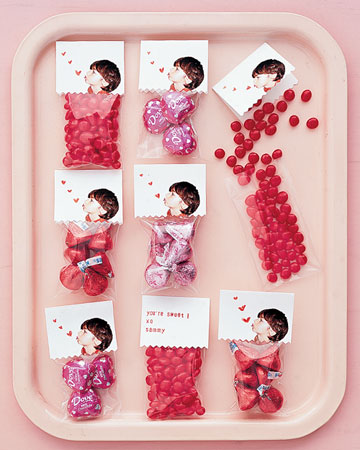

This is a popular trend this year with crafter and bloggers. You can either glue together your own candy bag topper with pretty paper and stickers, or create your own using your computer. Just print it out, cut, and either staple or glue your topper to the candy bag.

Now how about some flowers?


Use all those left over fabrics to make a dozen pretty roses and tie them all together with some red ribbon.
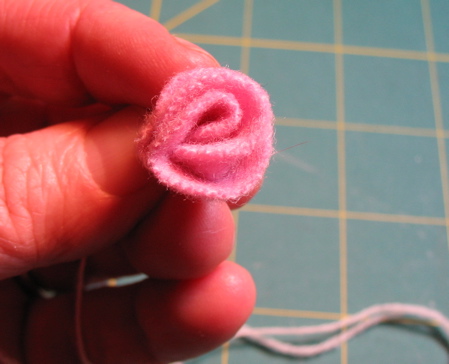

Here's another tutorial on how to make a cute felt rose. (and there great thing about felt it that...no hemming!)


You could also use these fabric roses for headbands and decorative pins. Just take the idea and run away with it!


I know I've shared this tutorial before, I just love it so much!

I just Heart these next tutorials!


Here's another idea you could use to clean up all your scraps of fabric. Make some pretty heart pillows!


Here's girl who know what to do with those conversation hearts. I think that they taste like chalk personally...
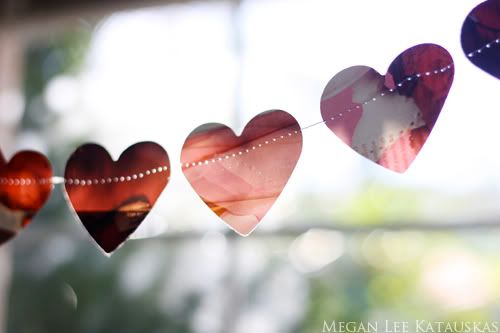


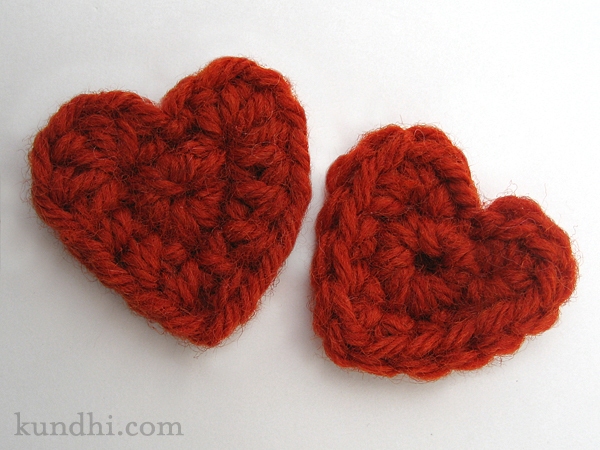
I must learn the art of crocheting hearts!

And I saved this one for the last tutorial because I am so in love with this idea!


Don't you just totally heart this love note?????
Click here to see the step by step instructions for making this sweet note. 

So that's it for my little roundup. I hope you all have a relaxing weekend full of whatever it is that you love. For me? That would be sleep...crocheting...and chatting with my handsome fiancĂ©e over gmail.

Don't forget to check out my youtube channel for some more tutorials and what not. 


Happy Valentine Weekend! 

Wednesday, February 9, 2011

Surprise Valentine Cupcakes


Inspired by...


A don't forget to see...


These cute cards were inspired by...


Tuesday, February 1, 2011

DIY Valentine Cards


Yay! It's the first of February, and I'm so excited to send out my valentine craft to my craft swap buddy.
Today was my day off at work so I made some pretty little Valentine cards. I would love to show you how to make them, but first...a little history...

"Valentine's Day started in the time of the Roman Empire. In ancient Rome, February 14th was a holiday to honour Juno. Juno was the Queen of the Roman Gods and Goddesses. The Romans also knew her as the Goddess of women and marriage. The following day, February 15th, began the Feast of Lupercalia.


The lives of young boys and girls were strictly separate. However, one of the customs of the young people was name drawing. On the eve of the festival of Lupercalia the names of Roman girls were written on slips of paper and placed into jars. Each young man would draw a girl's name from the jar and would then be partners for the duration of the festival with the girl whom he chose. Sometimes the pairing of the children lasted an entire year, and often, they would fall in love and would later marry.


Under the rule of Emperor Claudius II Rome was involved in many bloody and unpopular campaigns. Claudius the Cruel was having a difficult time getting soldiers to join his military leagues. He believed that the reason was that roman men did not want to leave their loves or families. As a result, Claudius cancelled all marriages and engagements in Rome. The good Saint Valentine was a priest at Rome in the days of Claudius II. 
He and Saint 
Marius aided the Christian martyrs and secretly married couples, and for this kind deed Saint Valentine was apprehended and dragged before the Prefect of Rome, who condemned him to be beaten to death with clubs and to have his head cut off. He suffered martyrdom on the 14th day of February, about the year 270. At that time it was the custom in Rome, a very ancient custom, indeed, to celebrate in the month of February the Lupercalia, feasts in honour of a heathen god. On these occasions, amidst a variety of pagan ceremonies, the names of young women were placed in a box, from which they were drawn by the men as chance directed.


The pastors of the early Christian Church in Rome endeavoured to do away with the pagan element in these feasts by substituting the names of saints for those of maidens. And as the Lupercalia began about the middle of February, the pastors appear to have chosen Saint Valentine's Day for the celebration of this new feaSt. So it seems that the custom of young men choosing maidens for valentines, or saints as patrons for the coming year, arose in this way."


 Did you know...
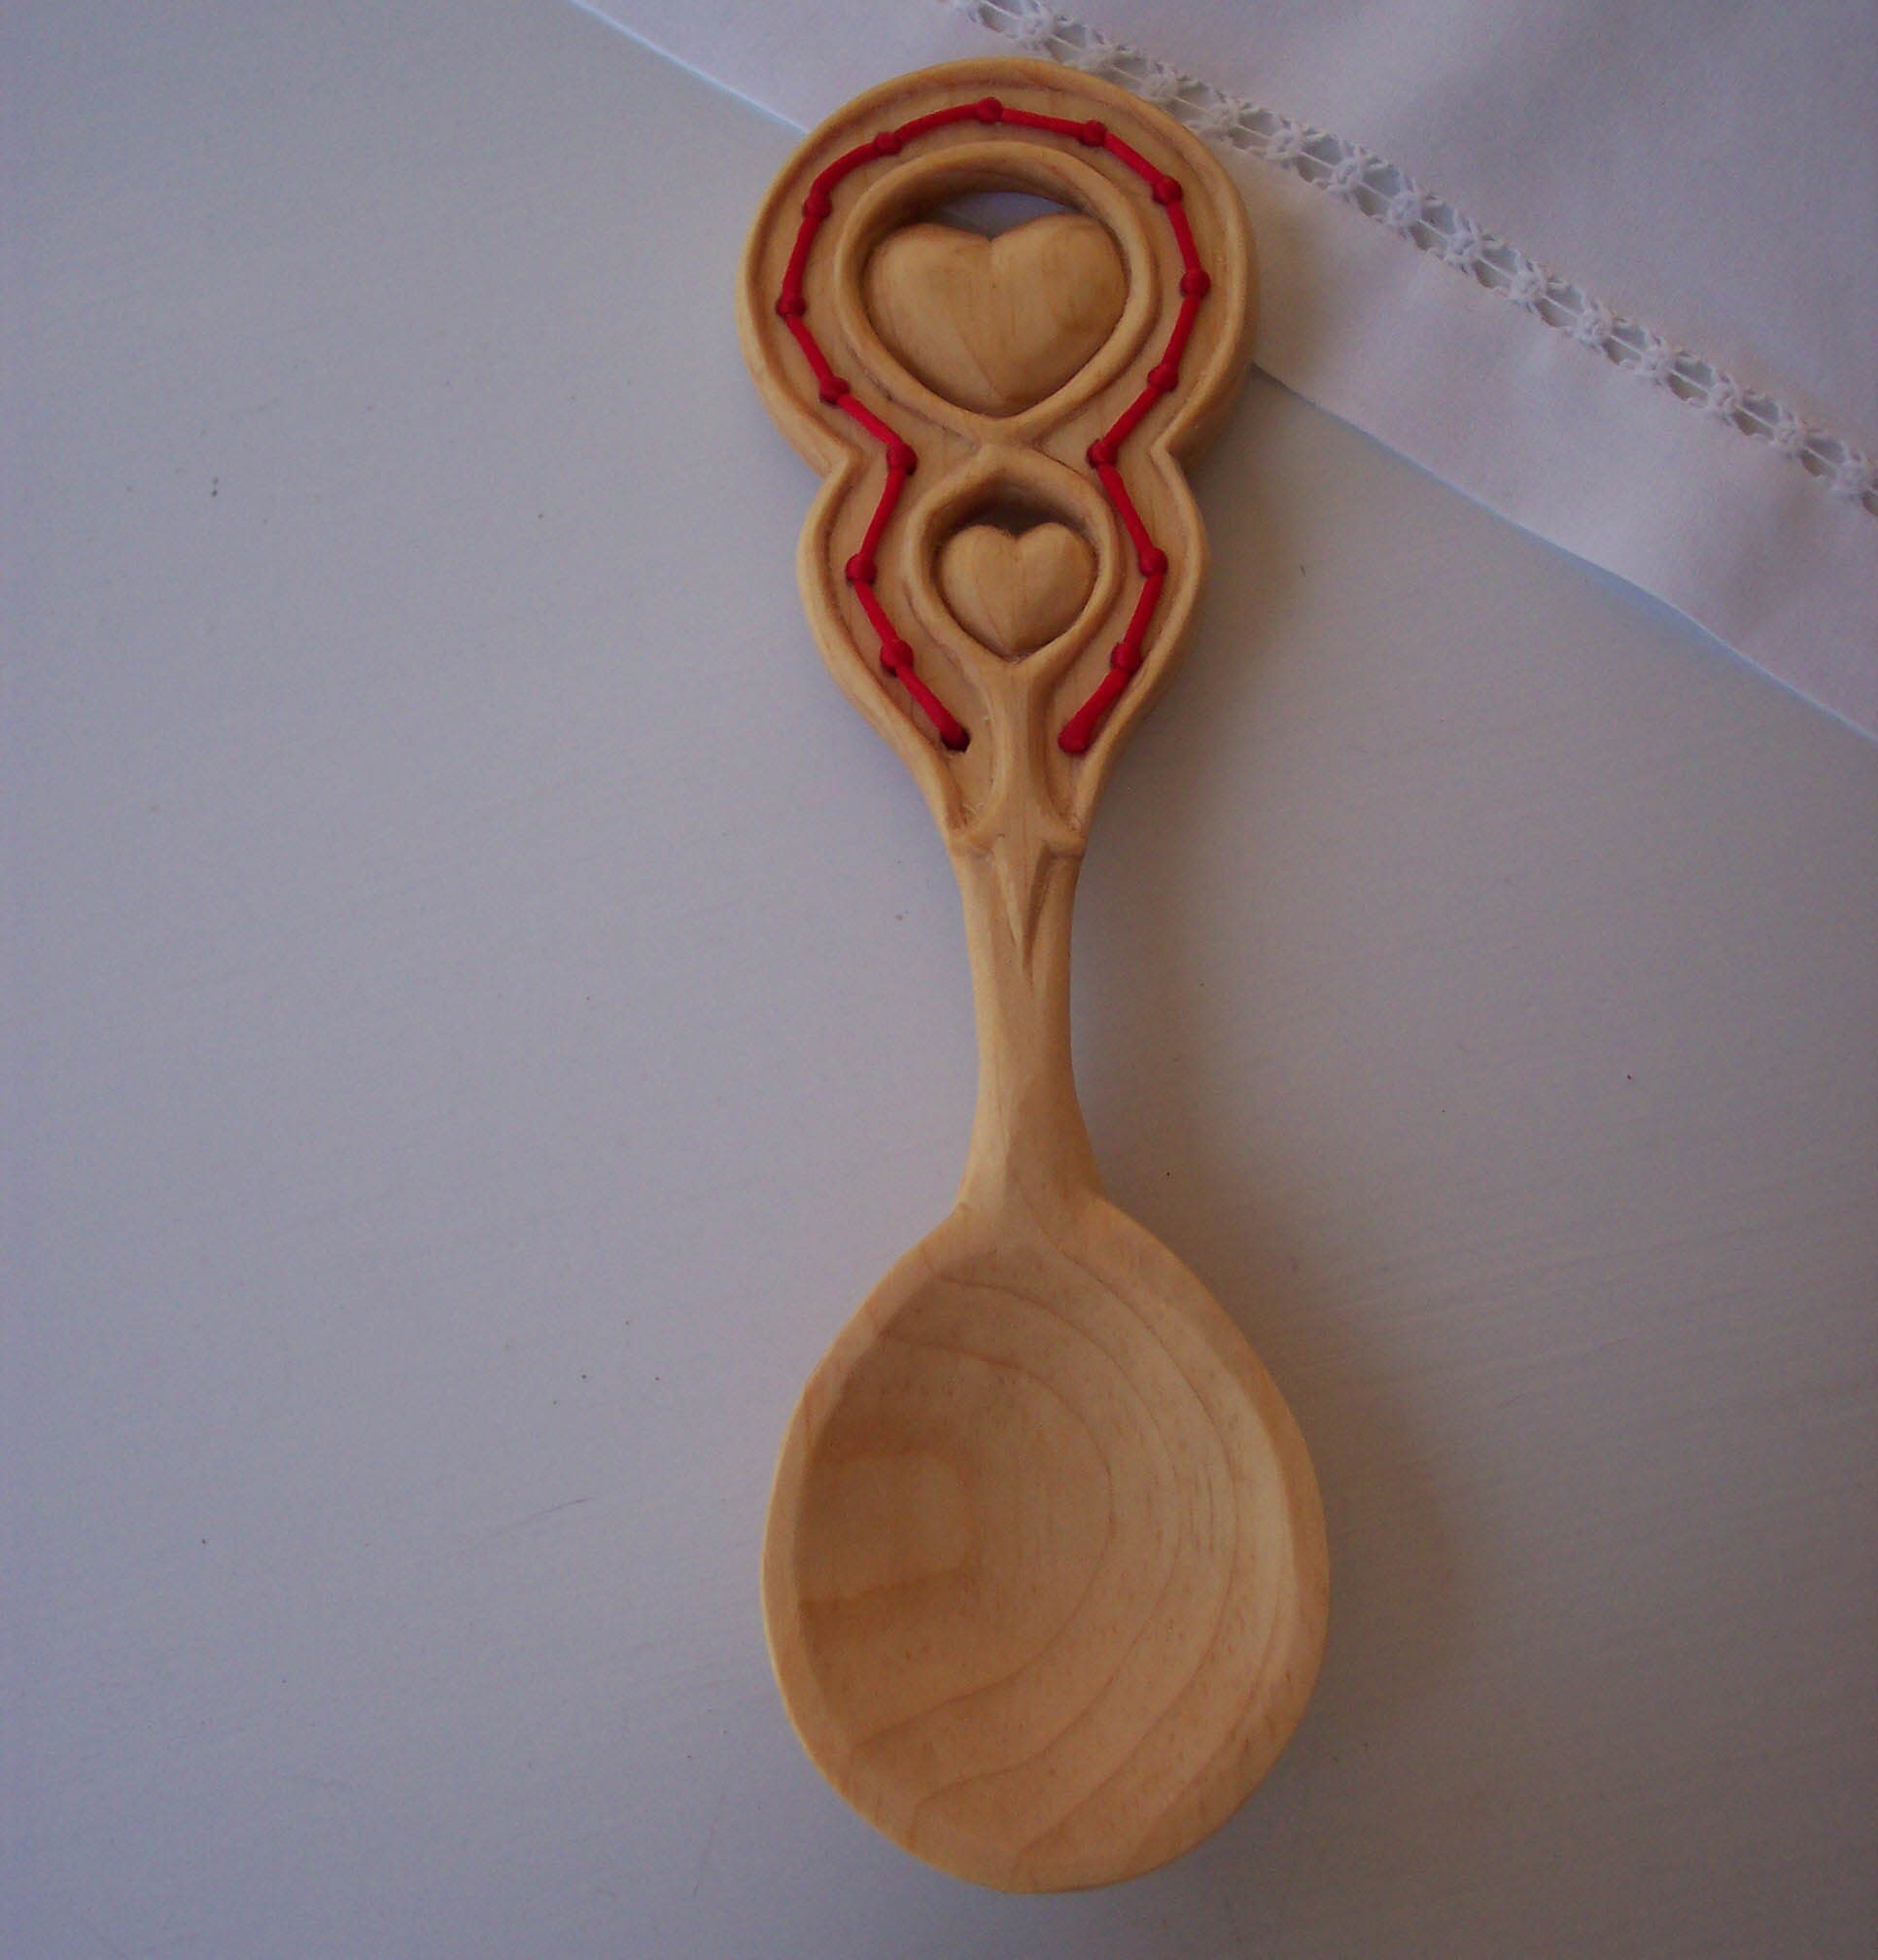
In Wales wooden love spoons were carved and given as gifts on February 14th. Hearts, keys and keyholes were favourite decorations on the spoons. The decoration meant, "You unlock my heart!"

A love seat is a wide chair. It was first made to seat one woman and her wide dress. Later, the love seat or courting seat had two sections, often in an S-shape. In this way, a couple could sit together -- but not too closely!

If you cut an apple in half and count how many seeds are inside, you will also know how many children you will have.

Think of five or six names of boys or girls you might marry, As you twist the stem of an apple, recite the names until the stem comes off. You will marry the person whose name you were saying when the stem fell off.

Some people used to believe that if a woman saw a robin flying overhead on Valentine's Day, it meant she would marry a sailor. If she saw a sparrow, she would marry a poor man and be very happy. If she saw a goldfinch, she would marry a millionaire.


Click on the card above to watch me make a cute little valentine.

Pssst! Click on St.Valentines picture so read his personal story!
 

Sunday, January 30, 2011

How to make my tomato soup

If you've been reading along, you should have known that I am again sick in bed...ugh...but being sick means I get to eat soup all the time! I simply love soup and I wanted to share with you how I make tomato soup (from a can) my own. 
From the can, the soup can become rather boring and blah...so here's how I jazz it up using things I already have in the cupboards. 


Saturday, January 29, 2011

Ooodles and Ooodles of Doodles


Since my last post...

I've gone back to work at the daycare (part time). 
I'm so happy to be back with all the kids. I really missed them a bunch!

I've been a busy little bee crafting away as well. I've been crocheting flowers pins like there's no tomorrow. (you can find those in the shop by Monday)

In addition to going back to work and crocheting away a storm (and catching a cold from the kids) I've also been doodling away!

Before...


After!

Before...


After!

Before (I think this is my favorite one...)


After!


Maybe this last one will be my new logo or featured in a new banner.

What's next on my list? These!


Stay tunned for the upcoming tutorials!

Sunday, January 23, 2011

DIY Blog Clip-art

In my last blog post I used this image..


Would you like a tutorial on how to make your own?
Well lucky You, that's what this post is!


First, sketch your image with a blank sheet of paper (the notebook paper with lines won't do the job).
Try not to fill in anything. Remember you'll be adding color in later so there isn't much need for shading
Next, take a picture. Make sure your camera is directly over your sketch or else you'll get some funny angles in your final piece. 


Now upload your picture to Picnik or you can also use photoshop if you like. 
Brighten up your picture like this, making sure not to make your black lines disappear. 


Now use the "doodle" in picnik to add color to your image. The possibilities are endless here so have fun!

I added a little thought bubble to mine. You can do that with the "stickers" in picnik. 
The last step is to save your image to your computer and then upload it to your blog!


This is another one that I made today...


Wednesday, January 5, 2011

From Jeans to Cute Skirt!


A couple of extra tips!

1. Chose a fabric that matches for jeans, the more heavy-duty your jeans the more heavy-duty your fabric should be.
2. More is ... more! So get a little extra fabric than what you need. (if you don't end up using is you'll have fabric for another project anyway!)

Enjoy your comfy jean skirts!

Oh! And this project can also be done with other kinds of pants and even shorts!

Wednesday, December 22, 2010

Wrapping Presents!

It's almost Christmas! Are all of your gifts wrapped and under the tree? No!?
Thats OK cause I've rounded up a bunch of tutorials, videos, and ideas on how to make your gift just as special on the outside as it is on the inside. 


First Up is the paper....


You don't need to use traditional wrapping paper if you don't want to. Here are a few ways to get creative!


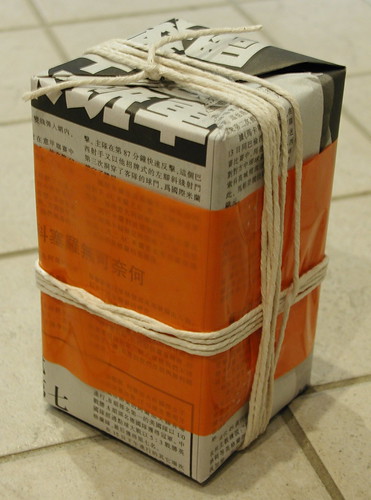
I also found a video series with step by step instructions on gift wrapping with newspaper. Go ahead and click on the tapes to watch.


Now...What about the bows? Or maybe you just wanna go with a creative topper for your gift... 


I also found a few videos on how to make a bow to top off your gift. Check them out!


(this is mine!)

Don't forget that you don't neeeeed to tie up your gift with ribbon! You can also use yarn, twine, thread, or whatever else you feel like!


One year, I wrapped all my gifts like this...


I once collected stamps (not that what I have is ever going to be worth anything) so I wrapped all my gifts in brown paper. Then I made up fake addresses with the recipients name on it. After gluing on the old stamps I used a pen and markers to make the stamps and symbols that the post office makes when you mail a letter or package. I also wrapped some of the boxes with twine and yarn. 
Needless to say...they looked awesome!

Hopefully this post has inspired and helped you out a little bit. If you need a little more I made another video about the gifts that I've wrapped so far. You can see that here. (and if you really need help on the basics of gift wrapping check out this video here) 

I'll leave you with this cute picture I found while browsing the internet for gift wrapping ideas....

(Mike this is for you)