Showing posts with label crafts. Show all posts

Monday, June 6, 2011

Show and Tell- My Weekend

Good Monday Morning Readers,
How as your weekend?


I found this simple tutorial and made an incognito stamp out of an eraser that I had lying around...


Then I went thrifting and picked up this really happy straw purse!
I was thrilled because I feel in love with a $175 one at the mall and I got this one for 5 bucks!
It pays to shop around.


I think I might give it a new lining. Other than that...this is exactly what I was looking for.


Oh yeah,
and I also found an old-school straw hat.

Saturday, June 4, 2011

Guest Post- LDC Designs

Hellow Readers,
I have a special treat for you!
Today Miss Yellow Shoes is having its very first guest post by Lindsay, and she's put together a sweet little tutorial for us.
Now wasn't that nice?
Pssst! Let me know if you wanna do a guest post too!


Hey everyone! This is Lindsay from LDC Designs! I am super excited to be doing a guest post for Miss Yellow Shoes. I thought I would show you all how to make this really cute and simple bracelet. All it takes is some leather & lace. Super simple! You can actually buy all that you need at wall-mart! 
So lets get started!
First you will need to cut out a piece of lace about a half an inch shorter then your wrist. Then but out two pieces of leather twice the length of your wrist. 


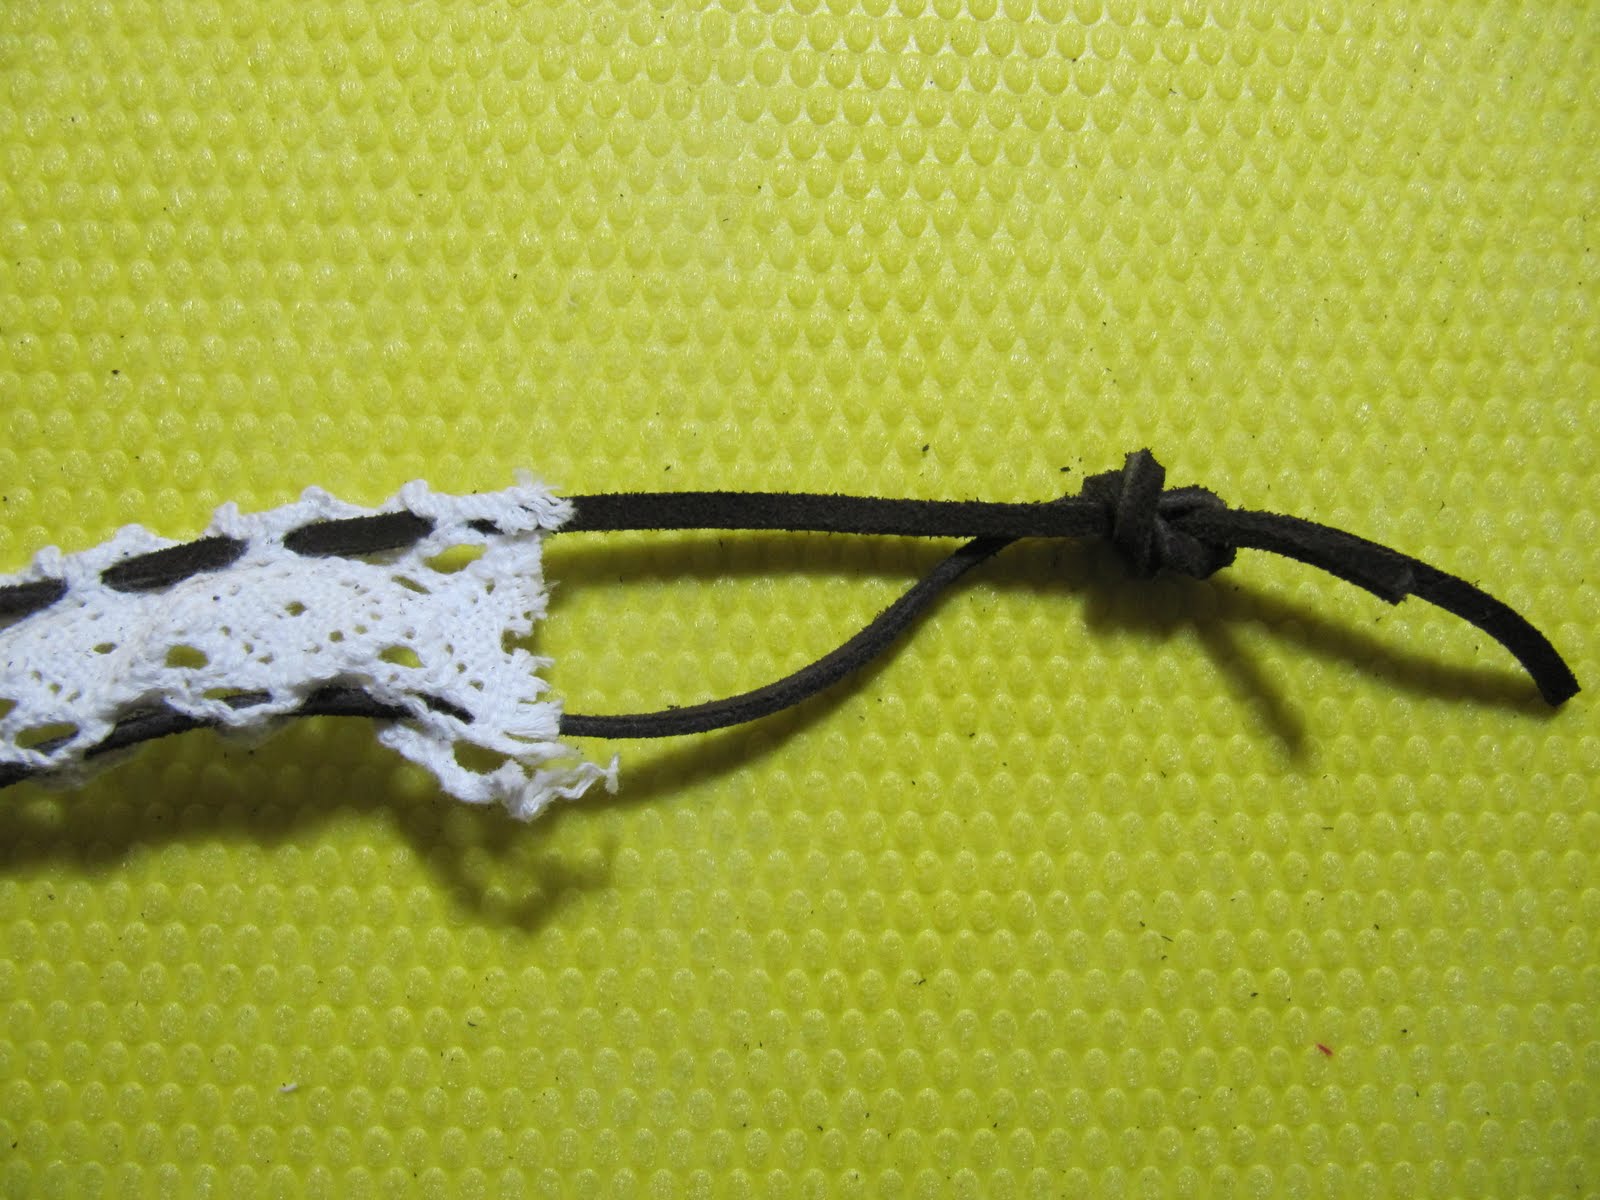
Now take one piece of leather and start weaving it through the edge of the lace.


Once you have done that, start doing it to the other side with the other piece of leather.


now tie a knot in both ends of the leather. Make sure you tie them around the size of your wrist, but just a tad bit larger!


Now to tie it on your wrist you will put one knot through the loop before the other knot. Like this...


Once you have it tied so that it fits well, cut off the extra leather after both knots.


And there you have it! A cute leather and lace bracelet in less than ten minutes! Try adding beads to the leather for a different look!

Thanks so much for asking me to guest post, Brittany! Check out my blog for more DIYs ! xo ldc

Wednesday, May 11, 2011

Wedding- Bride Bouquet DIY 2

Oh Hello There!
Back for MORE wedding posts?
Today I'll be featuring another bridal bouquet (also by rocknrollbride.com)...


Isn't it pretty?
This bouquet is a little simpler than yesterday's but still totally gorgeous!
Here's the teaser...


Materials:
Fabric flowers & assorted flower hair-clips (I would have loved fresh flowers but I wanted to have something I could keep forever)
Cotton twine
A few scraps of wool
Scissors
An egg beater/whisk (as you can imagine, it was such a ‘light-bulb’ moment when I thought of using it for the stem!)
Step 1:
Hold on to the whisk as shown on the image and with a little force, try to deform it into a oval/circular shape. You can use tiny wires or something to tie on the criss-cross parts to keep them stay in shape if you need to.
Step 2:
Stuff the scraps of wool inside in whisk. This will help form the shape of the bouquet.
Can you believe you’re almost done? I told you it was easy!
Click here for the rest of this easy tutorial.
This week is all about weddings so be sure to stop on by tomorrow!

Tuesday, May 10, 2011

Wedding- Bride Bouquet DIY 1

Good Morning!
I'm in the wedding mood as you will see in this week's posts...
Today's post features a fabric bridal bouquet from rocknrollbride.com!


1. Fabric
2. Tools: Scissors, Rotary Cutter, Self-Healing Mat, Ruler, Compass, Glue gun with lots of glue.
3. Notions: Felt, Embroidery Thread or Regular Thread, Green Cloth Floral Wire, Buttons, Embellishments.

For this tutorial I decided to make my bouquet nautical themed so I choose a lot of red, blue, white and yellow fabrics and found buttons and some gold rope that made perfect embellishments.
First thing you need to do is create your flowers. I like to use two types of flowers, (Yo Yo Flowers and Ruffle Flowers,) but you can also add any other kinds of flowers; crocheted or knitted flowers, felt flowers, etc.


1. To make Yo Yo Flowers you will need to cut out circles in varying sizes. I like to use a compass so I can make many different sized circles without having to cut out different templates. I recommend circles that are no smaller than 3” in diameter.
2. Using a needle and thread sew around the edge of the circle. You don’t have to be too careful here, just try to stay close to the edge.
3. Continue sewing around the circle, the fabric will gather as you go.
4. Once you get all the way around knot your thread and you’re finished!

See the rest of the tutorial by clicking here.
Have a happy Tuesday and take time to make something beautiful today!

Monday, May 2, 2011

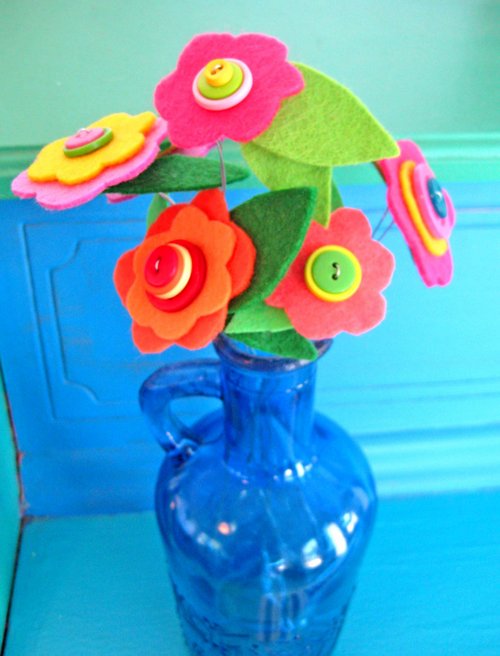
DIY Flower Projects

What better way to welcome in the Spring than with some crafty flowers?
I've rounded up some sweet tutorials...check em out below!


button flower bouquet 1


P.S.
One of my favorite things about Spring is that I can walk barefoot outside again.
What's your favorite thing?

Thursday, April 14, 2011

DIY Glitter Vase

I went to the mall the other day and fell in love with a gorgeous vase.
It would have been perfect for a small kitchen table but the price tag made me walk away empty handed. 
I could still picture the pretty, glittery vase in my mind while driving home. Then it hit me. 
"Hey, I bet I could make my own!"
So off to the dollar I drove.


Vase = 2 dollars
Glue = 1 dollar
Self Adhesive Gems = 1 dollar
Glitter Packet = 1 dollar
Total = 5 dollars


First, I washed the vase and inserted my hand inside so I could have complete control.


Then I swirled glue around the vase sparingly since I knew I would be doing several layers of glitter.


Then I sprinkled on my first color of glitter and let dry.
(You can do several colors or just one)


Then I swirled on more glue...


And sprinkled on my second color!


I continued this process of gluing, sprinkling, and drying until I was satisfied with my vase.


I let my vase sit for a few hours before decorating with these self adhesive gems. They are tiny enough to go unnoticed by big enough to catch the light and sparkle!


These pictures really don't do the vase justice. A camera can't really catch all the sparkle and beauty of this vase.

See my tutorial on "Cut Out and Keep"

Friday, February 25, 2011

Smile for the camera! diy

This post is all about pictures. 
My friends and family will tell you that I love Love LOVE taking pictures! I must have hundreds on my computer and each one holds a special memory....


Here's a cute way to frame your pictures with paper. 
(click the image for instructions)


Another cute way to display your photos... Use vintage wooden spools!


What You’ll Need:
1. Camera
2. Printer (or have your pictures printed at a copy center)
3. 8.5″ x 11″ labels
4. Scissors
5. A Canvas of your choosing
6. Paint
How-To:
Step 1: Take a picture in profile
Step 2: Print profile picture on an 8.5” x 11” label (Available at office supply stores)
Step 3: Cut out the profile using fine tip scissors. Be sure to catch all of the details!
Step 4: Remove the backing of the label and apply the outer part of the label to a canvas. I had
pre-painted mine with a chocolate brown paint and let dry overnight.
Step 5: Using the label as a stencil, fill in the negative space with paint that contrasts the base
canvas color.
Step 6: Remove the ‘label stencil’ and let dry.
Step 7: Touch up the edges of the profile with base color of paint if needed.


I hope you all have a lovely Friday and great weekend!


Friday, February 11, 2011

DIY Valentine Crafts Roundup

Yay it's Friday!
Now you've got a whole weekend in front of you that you can fill with oodles and oodles of Valentine crafts.

Let's start with food shall we? (guys like food anyway)


These cute little cake pops are simple to make and great for just about everyone.


How about a 5 minute cake in a mug for that special somebody? Or...make a bunch of these before watching a chick flick with all the girls!


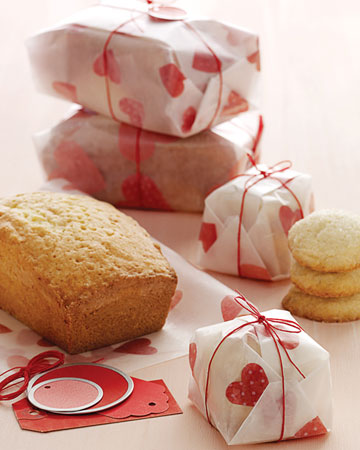
You don't just have to give away chocolate on Monday. Why not bake some bread of muffins? Don't forget to wrap them up in pretty paper!


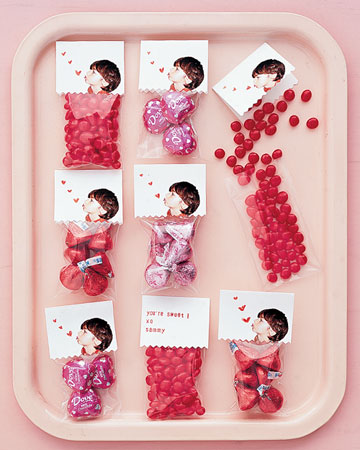
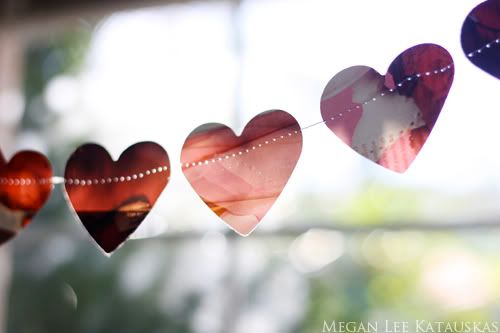
This is a popular trend this year with crafter and bloggers. You can either glue together your own candy bag topper with pretty paper and stickers, or create your own using your computer. Just print it out, cut, and either staple or glue your topper to the candy bag.

Now how about some flowers?


Use all those left over fabrics to make a dozen pretty roses and tie them all together with some red ribbon.


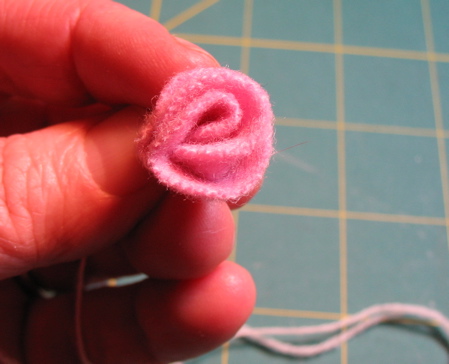
Here's another tutorial on how to make a cute felt rose. (and there great thing about felt it that...no hemming!)


You could also use these fabric roses for headbands and decorative pins. Just take the idea and run away with it!


I know I've shared this tutorial before, I just love it so much!

I just Heart these next tutorials!


Here's another idea you could use to clean up all your scraps of fabric. Make some pretty heart pillows!


Here's girl who know what to do with those conversation hearts. I think that they taste like chalk personally...


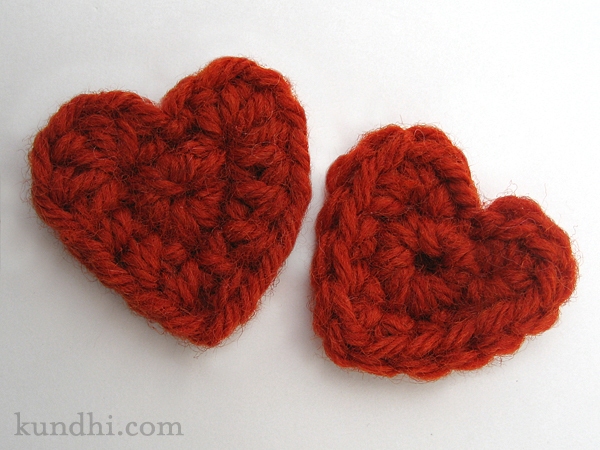
I must learn the art of crocheting hearts!

And I saved this one for the last tutorial because I am so in love with this idea!


Don't you just totally heart this love note?????
Click here to see the step by step instructions for making this sweet note. 

So that's it for my little roundup. I hope you all have a relaxing weekend full of whatever it is that you love. For me? That would be sleep...crocheting...and chatting with my handsome fiancĂ©e over gmail.

Don't forget to check out my youtube channel for some more tutorials and what not. 


Happy Valentine Weekend!