
Today is all about handmade gifts. If you are bound and determined (like me) to make most (if not all) of your gifts from scratch, you may want to start now! In reality... you should have started at the beginning of this month. But better late than never!
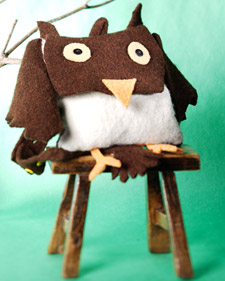
I wanted to post this one first because I absolutely fell in love with it! It's an owl backpack, how cute is this? This backpack would not only be great for kids, but other crafty adults you know and love too. Remember to add your own flair to these crafts with color choices, or extra embellishments that make it from YOU!
(click on the owl for instructions)
If you read my blog post about making Christmas tree ornaments, you'll remember that I posted instructions on turning a child's drawing into a felt ornament. This is also the same basic idea. So CUTE!
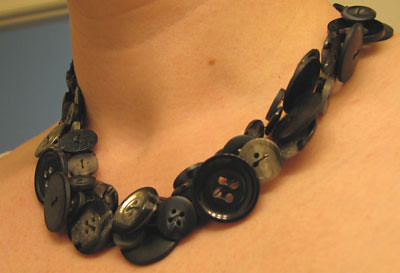
I would love to try and make this pretty button necklace...sigh...maybe after I'm finished making all my Christmas gifts my fingers will still be willing to create just one more thing.

You've GOTTA have a hat to keep you all nice and warm! (So do all your loved ones)Learn how to knit this one by clicking on the image. You can never go wrong with giving a handmade hat.

Keeping along with the whole knitting theme for a while... why not make this little scarf for a friend or co-worker?

Oh my goodness!!!
I really really want one of these! (hint hint, somebody with better dyeing skills than I please make one)
OOoooh Boy! It's time to get messy and crafty!
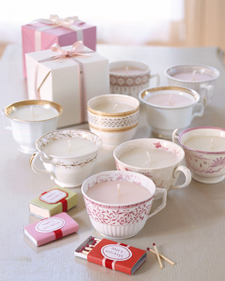
How about, teacup candles? Yes?
What you need...


Ah yes, before I leave you... be sure to check out this blog here for more ideas and inspiration or making a Homemade Christmas!

No comments:
Post a Comment
Don't be shy!