Thursday, May 31, 2012

DIY: Pompoms


Hello Readers,

I'm sorry that I haven't posted in a while. Things have been very busy with the wedding coming up. I have a bunch of projects I'm working on and hopefully soon have the chance to share them with you!
Today I wanted to show you all how I made pompoms. There are lots of ideas out there...using forks, cardboard, or fingers, but wait until you see what tools I use!


That's right!
I use one of those lobster chomper things (there's a name for it right?)
So as you can see, the first step is just to wrap the yarn around the lobster chomper thingny until you get a nice thickness. I cut the yarn once it's thick to my liking then tie around another shorter piece of yarn around the middle.


I slip off the unfinished pompom from my "tool" and tie a second knot just to be sure.


Now that I know that the middle of my pompom is secure, I grab my scissors and chop away at the loops.
I ruffle and tumble with little "bundle" in my hands until I get a nice fluffy pompom looking up at me.


Aww isn't he a sweetie?
By the way, rolling the pompom around in your hands in one of the best feelings ever. Your fingers will love it!


You can find endless crafts for pompoms. Try this party ready garland for example? Or this happy diy wreath? Or maybe you just want to throw these pompoms on an old pillow?


So many ideas! Let me know what you come up with!


Monday, May 28, 2012

Doodle Art

Hello Readers,
Yesterday I showed you all my inspiration notebook...well...
Here are a few doodles that escaped from the pages. 
I know that the proportions aren't all JUST as they need to be, and some of the lines are crooked...but I don't really care. I love these three pieces and hope you do too. Feel free to copy and print. 


I thought about making a commentary on each one...explaining what each one means to me, and the emotion behind the sketch. But I don't think I will. I'll leave it open to your "interpretation" of what I was thinking while doodling these.


Sunday, May 27, 2012

The Pages of My Notebook


Hello Dear Readers,

Even wonder where some of these super crafty bloggers get all of their inspirations? Here's a little secret I'll share with you. 

A. We get inspiration from each other! Just like you get inspiration from us!

B. We write it all down!

Every true crafter, blogger, designer, or typical Martha Stewart wanna be has a notebook. Not just any notebook...her notebook's pages are filled with records, ideas, sketches, failed experiments and "knock em outa dat ballpark" ideas! Once I've got an idea, I grab my notebook right away and jot it down. With life as hectic as it is, you don't want one brilliant inspiration to slip by. 

So here's a little peek into my notebook. 


First of all...I have to thank my future mother in law for buying this for me. It's honestly one of the best gifts I've ever gotten...so terribly practical!
Anyways, as you can see in the picture I made my own tabs. All I did was cut out some little tabs, label, and "laminate" with scotch tape. So easy to do and so free too! They help keep my notebook organized and super easy to flip through.


Another tip I recommend for your inspiration notebook, is keeping pages together with a rubber band. This is how I "block off" pages of past ideas I don't need to look at anymore. I can't stand tearing pages out of a gorgeous notebook, and those stupid little paper clips never stay anywhere but the bottom on my purse. The rubber band has been my solution for textbooks too. Such as easy way to keep your place!


So now you're like, "Ok now get to the good stuff!" 
What's actually inside my notebook? Well that's kinda top secret you know....but since you asked so nicely I guess I can give you a peek.
Just this once though ok???

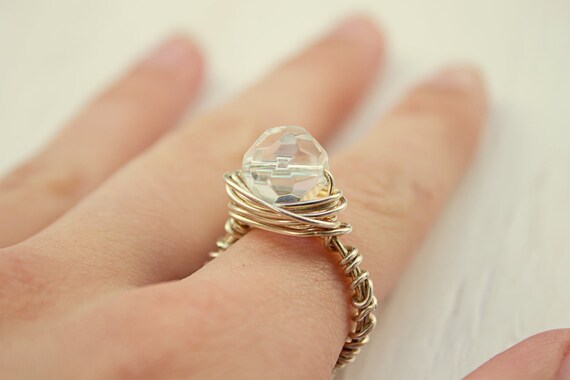
Well as you can see, I print out and "sketch-copy" my favorite ideas and things that just inspire me. I never end up making exactly what I cut out and paste, but I take the "flavors" so to speak and use them in my own creations and doodles. Like I said earlier, craft people get their ideas from each other too!

What thieves  we are all...


Lastly, my most precious pages of all!
Feel very special readers...very few people actually get to glimpse these pages.

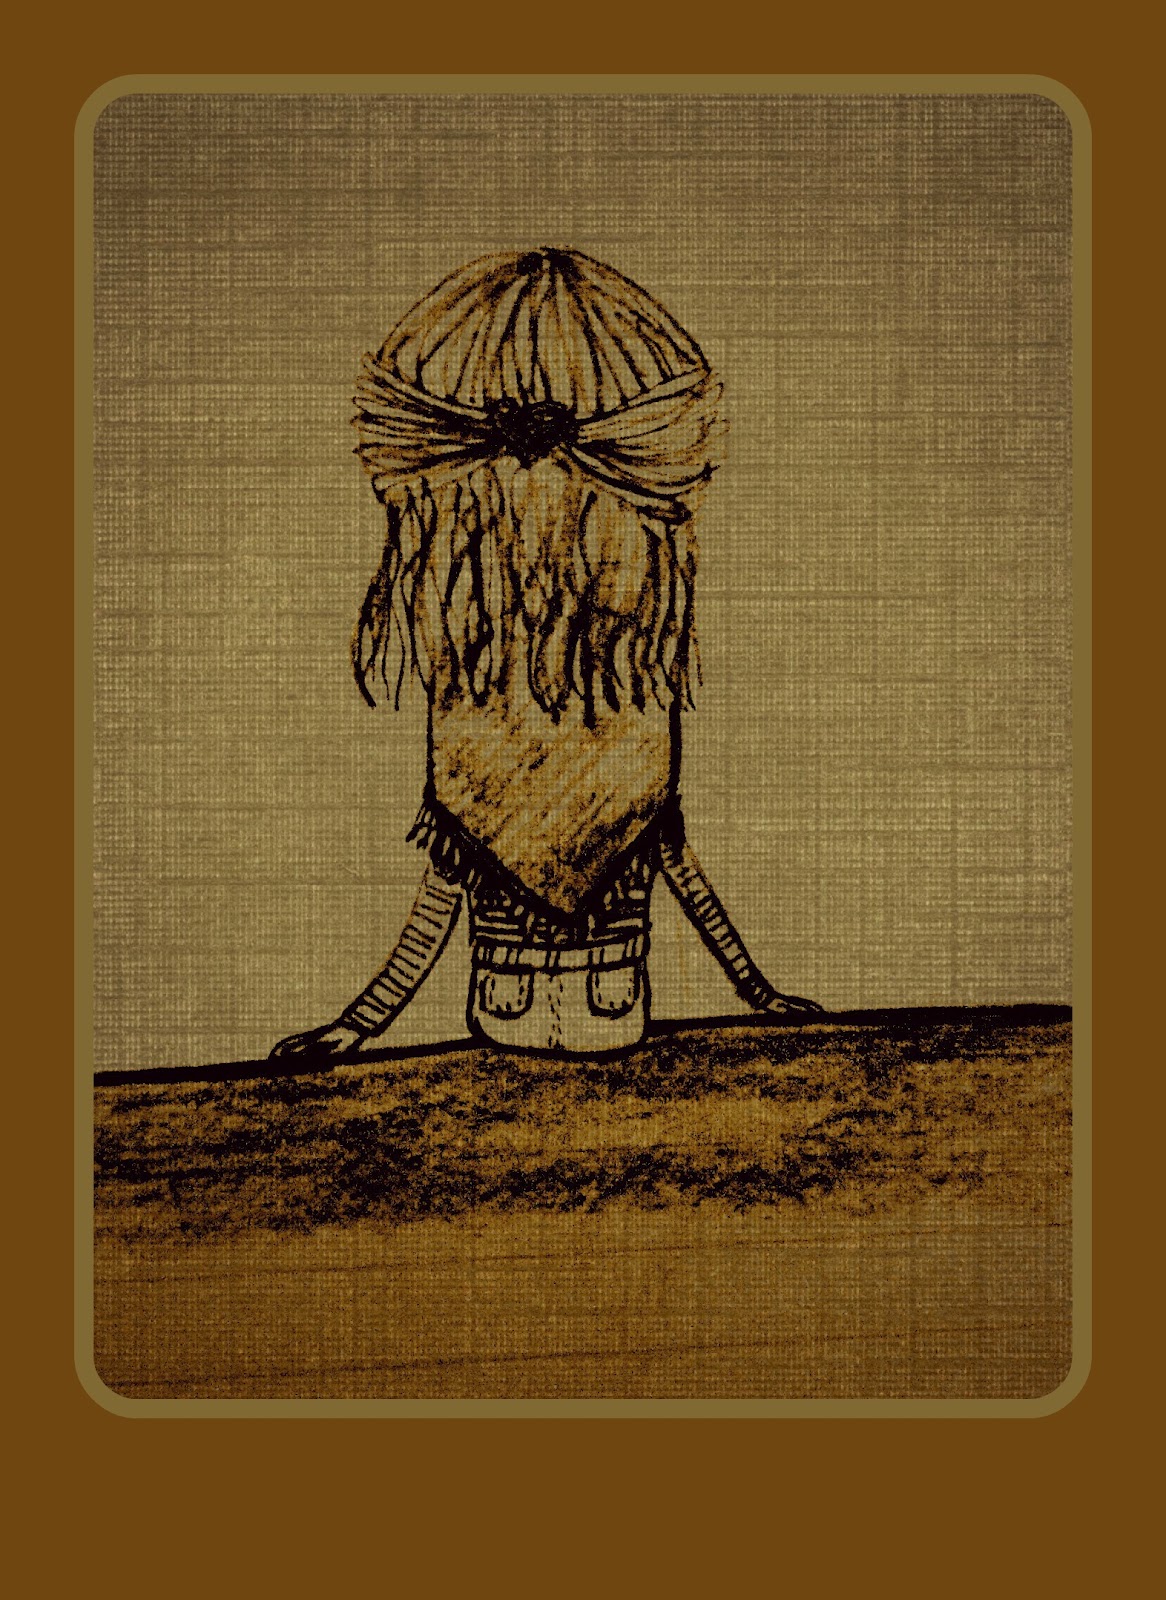
Introducing...my doodle pages. Actually, all I'm gonna show you is that one above. 
I fly to these pages, pencil in hand, when I'm feeling sad, happy, lonely, in love, whatever! Sometimes I don't even know what I'm drawing...I just let the pencil take over and my hand follows. 

These are also the pages were a lot of my blog illustrations are born. That little girl in the mustard hat at the top of the blog page? Yeah, she was born here in my notebook. All I do it scan in my images, add some color, and tadaa! You've got a cutsey digital doodle!

Well guys, that's it for now. I hope you enjoyed this little sneak peek into a crafter's files. What do you guys do to keep records? Don't tell me you use the favorites button on your browser...please don't say that.

I WILL run from this room screaming.

Saturday, May 26, 2012

DIY: No Yarn Required Granny Square Art


So I know you're all thinking "How is she going to make a granny square without any yarn???"
Well, dear readers...I'm going to use paint chips. Lot's of people have been super creative with paint chips. I've seen everything on Pintrest from teaching tools to home decorations. 
I'm really surprised that no one thought of making a granny square out of paint chips before. I looked online for a tutorial and couldn't find out. Guess I'm the first!


So here's what you're gonna need...

Paint Chips
Scissors
Pencil (unless you can eyeball it)
Glue
White Paper


So the instructions are pretty self explanatory. The hardest part is cutting out the mini squares that make up the actual granny square. 
Now you're thinking..."What am I gonna do with this gorgeous piece of handmade art!?!?!?!"

Well, you can

1. Made a collage
2.Frame them and decorate your wall
3. Use them as mini cards
4.Turn them into coasters
5.Turn them into magnets
6.You're creative too you know! Think of something!


Happy Crafting!

Check out this tutorial on Cut Out and Keep


99 cents

Good late-afternoon readers,
That past couple of days have been jam packed with wedding errands. I've been on the road, in so many shops, and my brain just needs  break! Luckily... I was able to hit a few thrift shops in between errands. It honestly helped me relax and bring back a little sanity.
No, I didn't find a lot of clothes...so sad...but I did pick up this little guy for 99 cents!


If you haven't worked extensively with children lately...then you must be thinking "Oh look...its a mouse."
But, if you are a childcare professional, or just keep up with children's literature then you're screaming "If You Give A Mouse A Cookie!!!!!"


That's right.
Be jealous.
I got the " If You Give A Mouse A Cookie" mouse for under a dollar!


I can't wait to collect ALL of the books!


And one more favorite that I'll mention...


There are more books in the series, and more to come out I'm sure. You can find out what they're all about if you click here.

For now...I'm just going to relax and hang out with my new little friend.

Wednesday, May 23, 2012

Wedding DIY: Tissue Paper Flowers


Good afternoon readers!

I am so excited to finally show you all the tissue paper flowers that I've been making. I found a tutorial by Elycia on Vimeo (link here) and bought all of my supplies from the dollar store. 


I spent hours and hours watching the Criminal Minds marathon while making these flowers. Do you know how hard it is to be gentle with tissue paper while watching suspense tv????


So here are all of the flowers that I made. I'm super happy with how they all turned out. The plan is to have then hanging up in the back of the church or maybe in the church windows.


So Mom and I are going down to Vermont tomorrow to run some Wedding errands. We'll be leaving the flowers down there so I had to pack all of the flowers in our van.


Thank you so much Elycia for the easy to follow tutorial and thank you dollar store for my supplies!

Tuesday, May 22, 2012

Snazzy New Button


Grab a button here or on the sidebar and share the Miss Yellow Shoes love!
Don't you think this would just look "oh so cute" on your blog sidebar?
I do!

:-)

Sunday, May 20, 2012

That sad feeling...

You know that sad feeling when you get to the bottom on your peanut butter and chocolate milkshake?
Yeah...I experienced that today too...


Saturday, May 19, 2012

Wedding DIY: Thumbprint Guesbook

Good morning readers!

Have any of you seen those super creative thumbprint guest-books? You know, the ones where you "sign in" by stamping a colorful thumbprint onto a canvas? The prints end up creating a bundle of balloons attached to a house or a tree full of leaves.
Well so have I, and I wanted to make one for my wedding guests as well. I decided to go with a tree since that would fit into our wedding theme. The balloons are a super cute idea and I might try that one with my preschool classroom this year. 

Anyways, here's a little tutorial I've put together for you. This tree is just a mock-up and the real one will be much bigger.

You will need:

Computer
Projector (borrowed mine from church)
Canvas (got mine at the dollar store)
Pencil
Paint
Sticky tack (or something to keep the canvas on the wall while you trace)
A sweet tutorial (oh look! here's one!)

1. Scour the internet a tree or other object you would like to trace.


2. Hook your computer up to your projector. Now shrink or zoom in on your picture to make it fit the canvas. Remember to try the image on the canvas vertically, or horizontally. I went horizontal with mine to made a wider image.


3. Use sticky tack, or some other temporary adhesive to attach your canvas to the wall.


*This is what my canvas looked like with the image projected onto it.


4. Now trace your image with pencil. Remember that you can edit your image to remove branches or add branches.


5. Once you're finished tracing, shut off your projector and double check your work. It would really stink if you took down your work only to see a huge chunk that you forgot to trace.


6.Lastly, fill in your traced image with paint. I just used a sharpie on mine because it was just a mock-up of the real thing.

'

Now you've just made yourself a super sweet, totally "done-it-myself" guest book.
Way to go you crafty bride you! 


Try to resist the urge to fill the canvas with your own thumbprints. I filled mine just to see if my canvas would be big enough for 200 thumbs. I also wanted to show you what it would look like filled with thumbprints. 
I was able to fit a little over 200 thumbprints on my canvas. The total cost for this project was $2.30!!!

Friday, May 18, 2012

Allergra Brooke Photography and Vida Doce

Good Morning Readers,

Today I wanted to show off my family and prove to you that creativity runs in our blood. Ladies and gentlemen, I introduce to you, my little cousin...Allegra!


She's gorgeous right? She's also our little photographer. She has a great eye for lighting and angles and all that other stuff that I don't understand about taking great shots. Allie took some of Mike and my engagement pictures and let me tell you that they were a HUGE hit as Christmas gifts. Here are just a few of the other awesome shots that she's captured for you to gawk at. 


That what just a sliver of Allie's photography work. If I've made you hungry for more, then please check out her blog here at AllegraBrooke.blogspot.com. Become a follower and sign up on her e-mail list to be one of the first to see her happy shots.


So not only does my cousin have a natural talent behind her camera...she, her mom and sister have a happy little esty shop you've just got to check out. It's called Vida Doce and you can find it here.
Unless I'm mistaken, Vida Doce means enjoy the sweet life
Allie, Aubrey, and my Aunt Becky make beautiful jewelery for you to wear! Inspired by rustic, classic, and vintage flavors, Vida Doce carries unique/handmade accessories that will add a little touch of "special" to any outfit. 


I actually got one of these for Christmas this year. I LOVE it and wore it all the time at school. Get one for yourself here!


I also have a pair of these. They come in a couple of colors and won't fall out of your hair during the day. I really really love my bows and super excited that I was one of the first to get a pair. Get your own zipper bows here!

Well, this post has gotten pretty long so I'll stop here. I hope you've enjoyed being introduced to some of my creative family members. Share the love and head on over to Allie's photography blog and check out Vida Doce on Esty.